
When the summer heat kicks in, there’s nothing worse than discovering your air conditioner isn’t working when you need it most. Whether you’re a homeowner doing seasonal maintenance or a homebuyer trying to evaluate the condition of a property, knowing how to test an air conditioner can save you time, money, and stress. At Nordic, we know how critical it is for HVAC systems to function efficiently and safely, especially in the extreme temperatures we often see in the Fargo-Moorhead area. Here’s a straightforward guide to testing your air conditioner to ensure it’s working properly.
Start with a Visual Inspection
Before adjusting your thermostat, begin with a simple visual check of both the indoor and outdoor units.
- Inspect the outdoor condenser unit. It should be free of debris like leaves, grass, or dirt. Look for signs of damage to the fins, wiring, or refrigerant lines.
- Inspect the indoor evaporator unit for signs of dust buildup, moisture, or corrosion.
- Make sure nothing is blocking the airflow around either unit.
If you notice ice on the refrigerant lines or coils, shut the system off and contact a professional. Ice buildup usually indicates restricted airflow or low refrigerant.
Check the Thermostat
The thermostat acts as the control center for your HVAC system. Make sure it is set to “cool” and lower the temperature several degrees below the room temperature. Listen for the system to start—you should hear the fan first, then the compressor.
If nothing happens, check to make sure the thermostat has working batteries (if applicable), and verify that the HVAC breaker hasn’t tripped.
Measure the Temperature Difference
A properly functioning air conditioner should cool the air by 15 to 20 degrees Fahrenheit as it passes through the system.
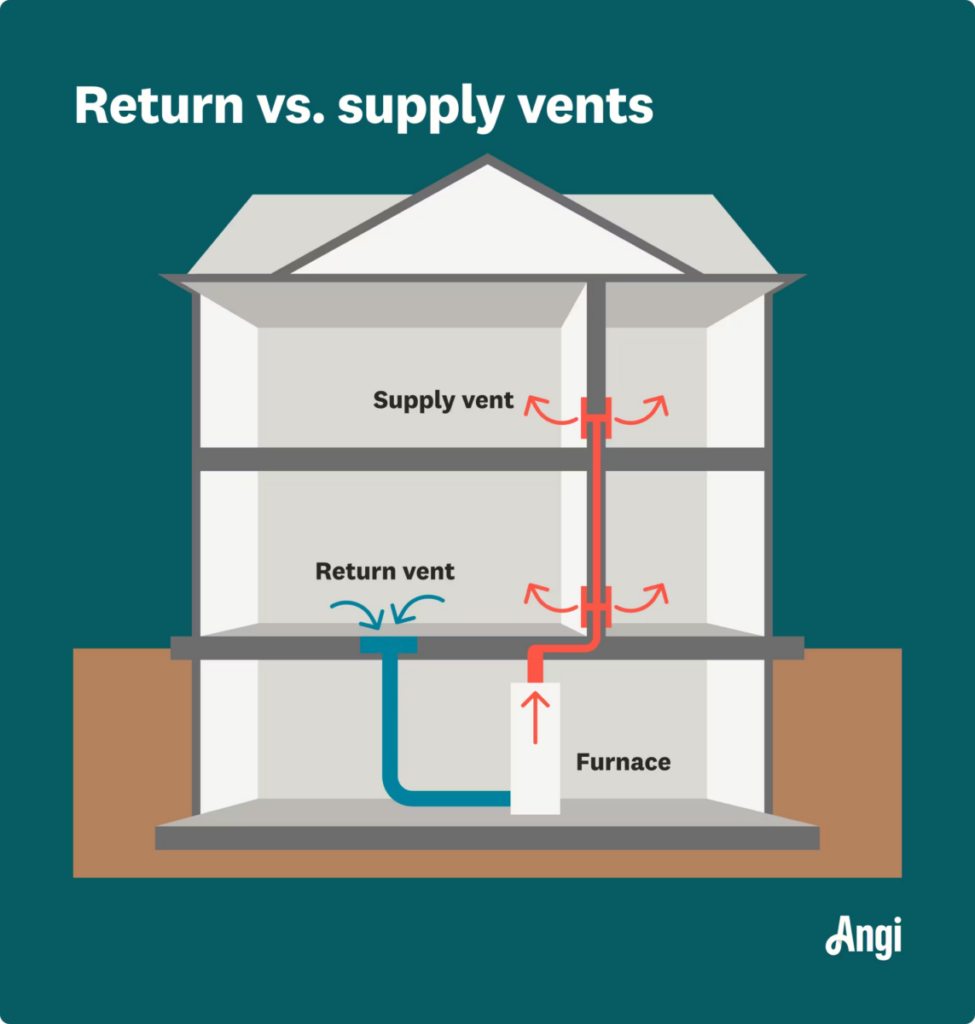
- Take a thermometer and measure the temperature at a return vent (where air is pulled in).
- Then measure the air temperature at the closest supply vent (where cool air is blown out).
- Subtract the supply temperature from the return temperature.
If the difference is less than 15 degrees, the system might be underperforming due to issues like dirty coils, low refrigerant, or airflow restrictions.
Check Airflow from the Vents
Walk through your home and check the airflow at each supply vent. It should feel consistent and strong. Uneven airflow can be a sign of duct blockages, dirty filters, or blower motor problems.
Replace or Clean the Air Filter
A clogged air filter can severely reduce system efficiency and cooling power. Filters should typically be replaced every 1 to 3 months, depending on your household environment. If the filter looks dirty or clogged, replace it with a clean one.

Listen and Look for Unusual Signs
While the system is running, take note of anything unusual:
- Odd noises such as grinding, squealing, or rattling.
- Unpleasant odors from the vents.
- Water pooling near the indoor unit (which could indicate a clogged condensate drain).
These signs may suggest mechanical issues or maintenance needs that should be addressed by a licensed HVAC technician.
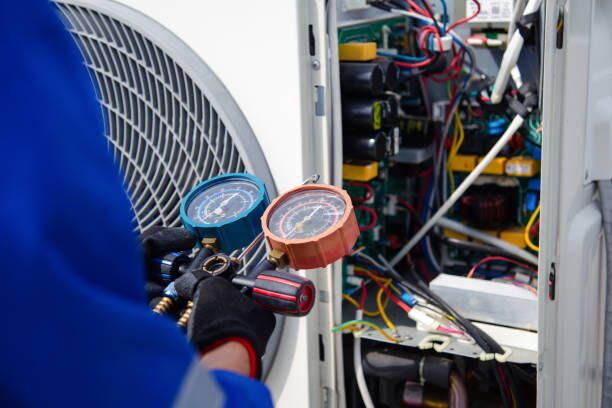
Schedule Professional Maintenance Annually
Even if your system appears to be working well, it’s a good idea to schedule a professional tune-up each year. A qualified technician can:
- Check refrigerant levels and pressures
- Clean internal components and coils
- Inspect electrical connections and controls
- Ensure safe and efficient operation
Why It Matters During a Home Inspection
At Nordic Inspections, we check HVAC systems as part of our full home inspection process. A poorly maintained or malfunctioning air conditioner can be a costly surprise for buyers and a negotiating point for sellers. Understanding how to test and maintain your system gives you peace of mind and protects your investment.
If you have questions or want a professional opinion on your HVAC system, contact Nordic Inspections. We’re happy to help you stay cool and confident all season long.